HOURNEXA USER GUIDE · 01 / 10
A clear record of your work
Set up your work, record your hours and turn them into a useful report. This guide follows the same steps you take in HourNexa.
Your first week
You do not need an account or a subscription to start recording hours. Begin with one client, one project and one task.
- Give the work a home. Add a client, then a project belonging to that client, then a task within the project.
- Record a day. Open Weekly hours, select the task and enter your hours. Save the week.
- Check and share. Review your entries, lock a finished week and create a PDF under Reports & timesheets.
Automatic tracking is optional. You can start with manual entries and add a work location later.
Three levels, one place for hours
Who you work for.
The job you are doing.
Where hours are recorded.
A client can have several projects, and a project can have several tasks. Hours and automatic tracking belong to tasks. A project can supply a shared work location and driving distance.
Find your next step
Clients, projects & tasks
A small amount of setup makes it easier to enter hours, choose the right work location and produce reports for the right client.
CHAPTER 03Record & review hours
Record a day in seconds, check automatic entries and protect a finished week from accidental changes.
CHAPTER 04Automatic tracking
Give a task a location, allow background location access and review the hours after you leave. Each task has its own tracking switch.
CHAPTER 05Reports & timesheets
Use a monthly timesheet for a client, a flexible hours report for analysis, or a mileage claim based on recorded days.
CHAPTER 06Invoices
Set up numbering, preview drafts, complete invoices and clear practice invoices after making a backup.
CHAPTER 07Backup & restore
A ZIP backup captures your work records. Choose a full replacement or merge selected clients, projects and tasks into the records already on the device.
CHAPTER 08Delete linked data
A client or project can contain much more than its name. HourNexa shows the linked records and tracking activity before you confirm a deletion.
CHAPTER 09Settings & preferences
Use the settings menu on the home screen to change recording defaults, document options and extra copies of your exports.
CHAPTER 10Questions & fixes
Start with what you see in the app. These checks help you resolve common selection, recording and export problems without removing your work.
Follow the examples
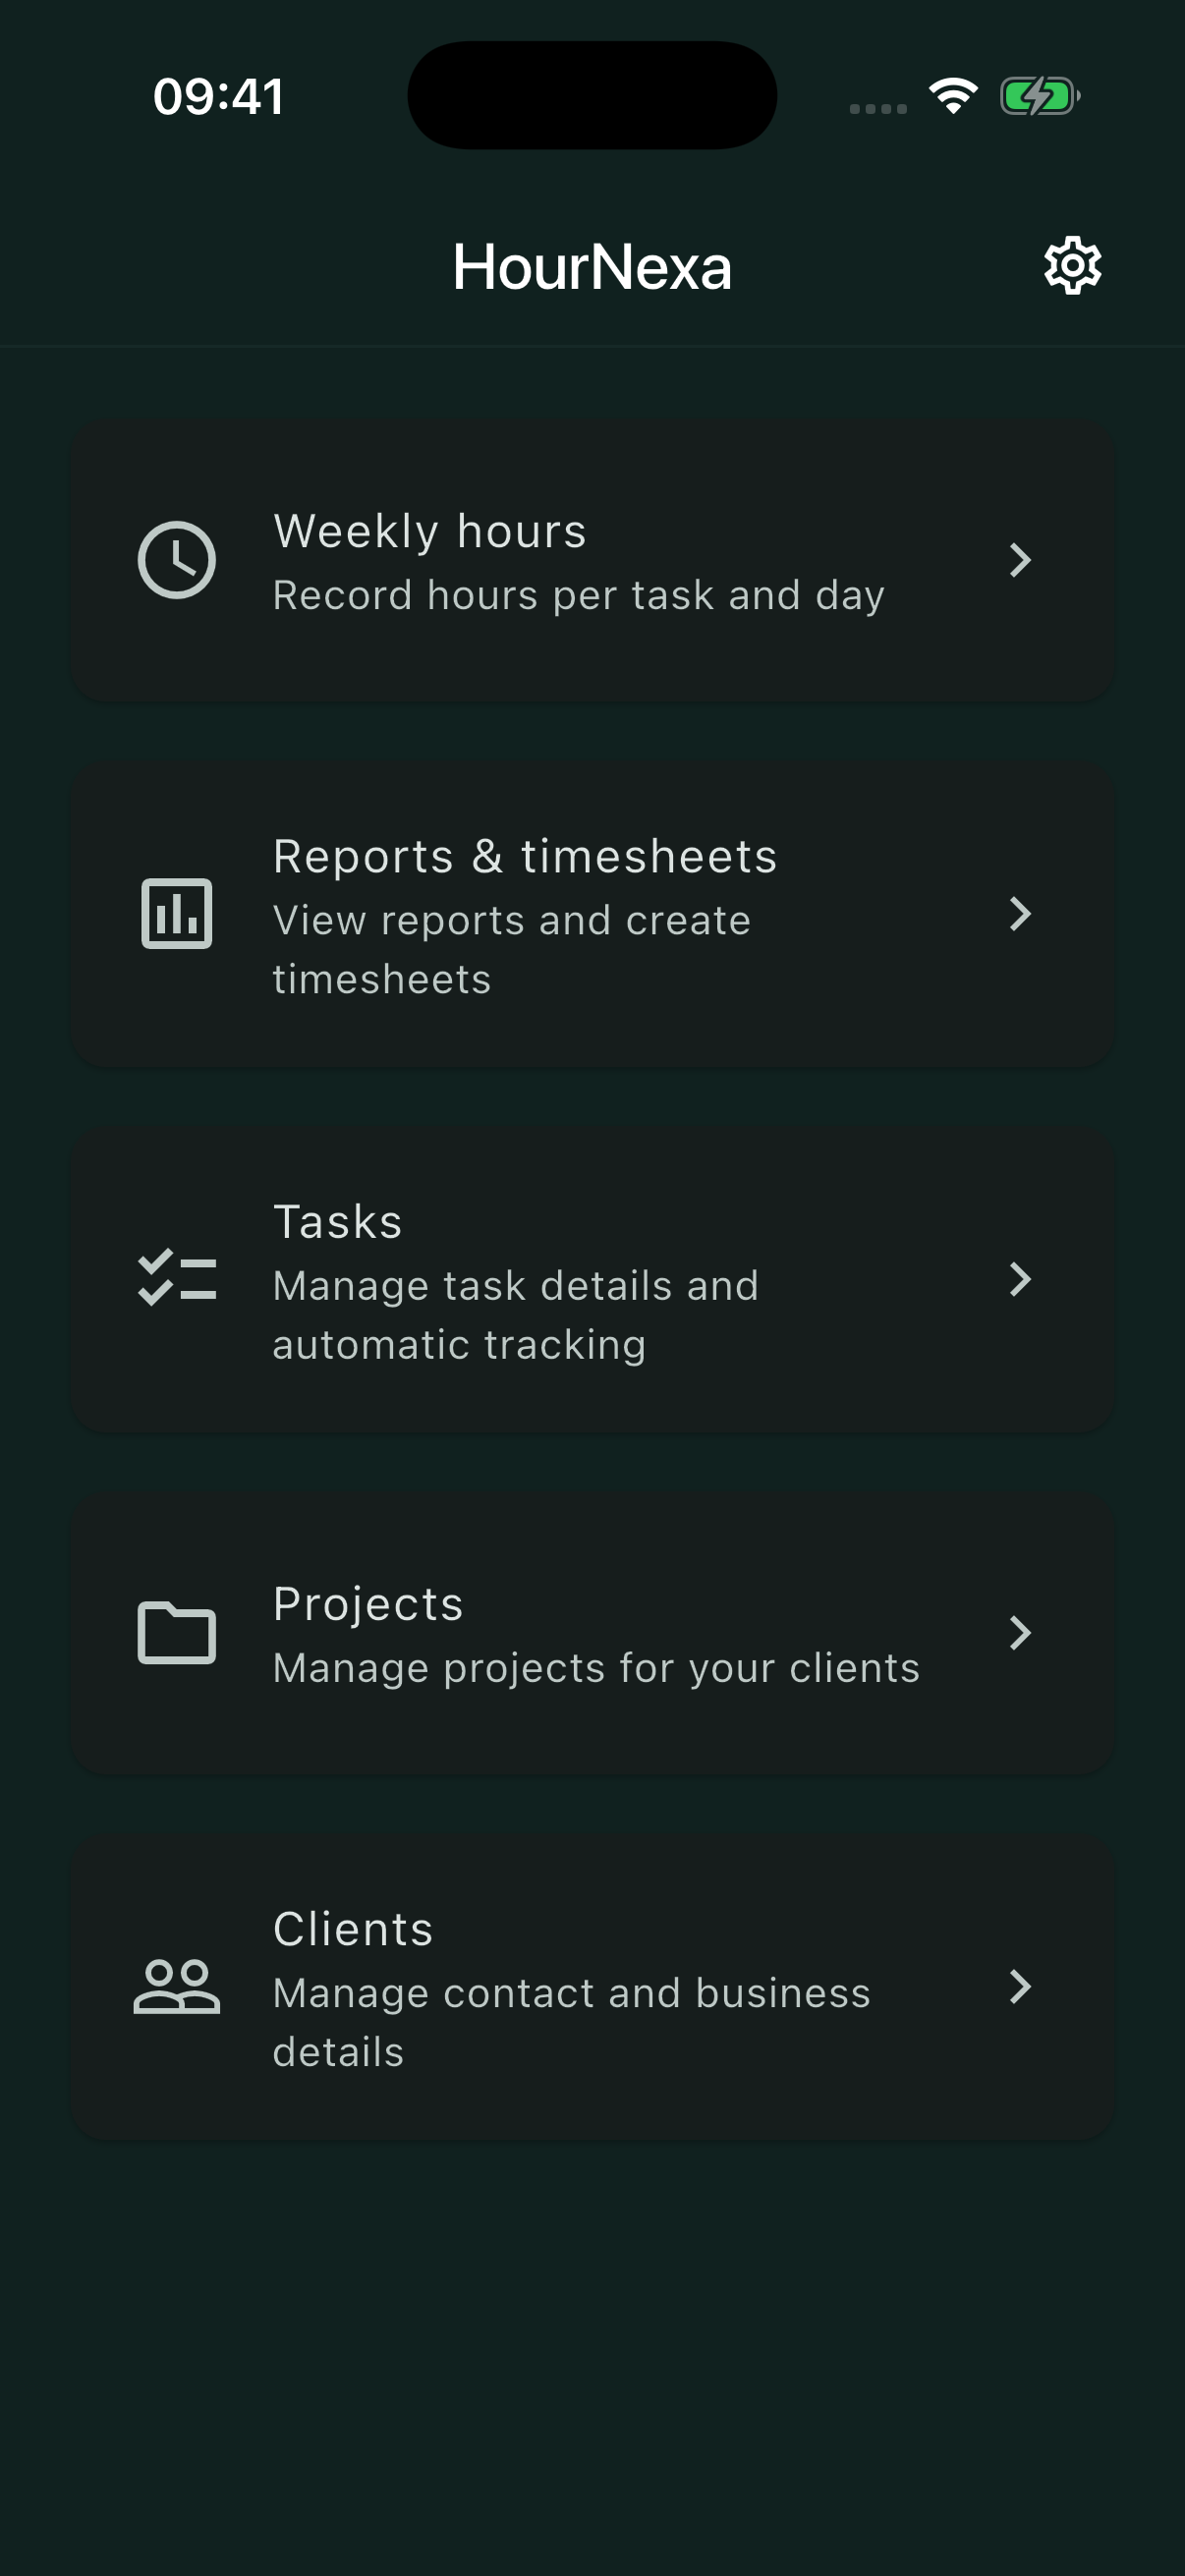
The screenshots use fictional work for Canal Studio and Harbor Cafe. Alex records installation and planning hours for an office refresh; Sam records a site survey for a lighting upgrade. The example work location is a public place used only to demonstrate the map.
The examples use English button labels, hours in H:MM and distances in kilometres. Your dates, units and permission prompts may look different depending on your settings.